Users and permissions
This feature is currently under maintenance. If you need access to it, talk with your DevRel manager!
In this article, we'll go over the process of adding and updating users in your developer console account.
These users can be your team members, or anyone else who maintains your app, updates your store listing, manages releases, etc.
You will be able to set different permissions and roles for each user.
Partners and Users overview
Before we begin, a few words about what a Partner is and about the hierarchy and relations between Partners, Users, and Apps.
- The Partner entity represents a team or company.
- A User can be part of many Partners (teams), and a Partner can contain many users.
- A Partner can own many Apps, but an App can be owned by only one Partner.
- A User can be part of, or own many Apps, and an app can contain many users.
Now, after everything is clear and makes sense, let's start.
Login to the developers console
After logging to the Overwolf developers console, navigate to "Settings" - "Users and Permissions":

Select Partner
As you can see in the following screenshot, my User is part of many Partners (teams). Note that it's not so common, as you will usually be part of one Partner.
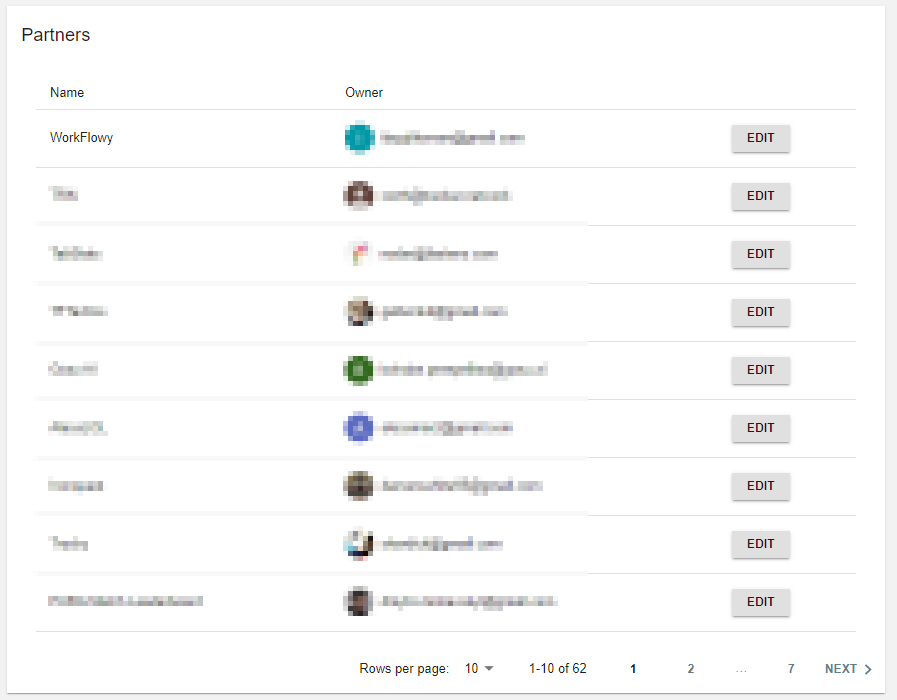
Let's edit the first Partner and add users to it.
Edit Partner details
After selecting which Partner you would like to edit, you will get to the Partner Details page.
As the Partner's owner, you can edit various properties like its name, primary owner, and associated apps.

Assuming the current Partner contains at least one App, let's add a new user and associate it with that app.
Add new User
After clicking the "Add User" button, you will get this popup:

Enter the User's email, and hit "Add".
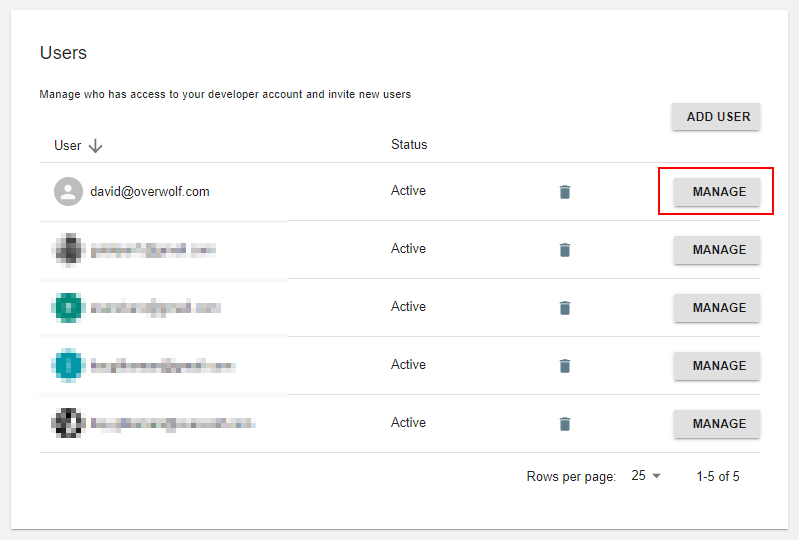
Manage User details
Now that we set the new User, we can associate it with one or more Apps that "belong" to the current Partner.
In addition, in each App we can set different permissions (roles) for different users.
Let's select it from the list and hit "Manage".
Associate user with an app
After clicking the "Manage" button, you will get the User details page:

The first step is to associate the new User with an App. hit the the "Add App" button.
Set the user's role for an app
After clicking the "Add App" button, you will get this popup:

You can choose one of the Partner's Apps and the User's role for that App's select box.
A role is a set of permissions. Read more about roles below.
Repeat the process until you finish setting all the required permissions for all the Partner's Apps.
In the following screenshot, you can see that we set our User as the "Owner" of the "WorkFlowy" app:

After you finish setting the required permissions for the user in the various Apps, don't forget to hit the "Save" button.
Roles and permissions
As mentioned above, A role is a set of permissions for an App.
Each user can be set to a single role per App. E.g., a certain user can be either the "owner" or "regular user" for a specific app.
Currently, there are two available App roles: Sser and Owner.
- User - Can view and edit any section except the "Users and permissions" page
- Owner - Can view and edit any section related to their App