Using the game events simulator App
Overview
This utility service can simulate events and updates for all Overwolf game events in any event-enabled game including: Fortnite, LOL, CS:GO, and the rest of the list. When the app identifies that one of the supported game is running, it automatically pulls the full list of features and events for that game from the Overwolf servers.
You can then simulate events and info updates of any sort you want to test and send it to your app using the Event Simulator.
Using the GEP simulator is relatively simple. However, there are a few things you should keep in mind before proceeding:
- The GEP simulator utilizes internal Overwolf APIs, to give you greater testing capabilities. However, the simulator should only be used during the active development of your app!
- In order for the simulator to work, you must not change any of the `meta' fields in its manifest, apart from 'version'.
To download the latest version of the game events simulator, simply clone its repository.
Roadmap
We recently added examples for each event type so you can simulate more easily.
The next major step planned for the sample app is adding in data validation features. Currently the app doesn't check the data it receives, so if you send an integer instead of a True/False flag for an integer field it will just not work. For now, please make sure you send data in the correct format and of the correct type per function.
We also might add the option to simulate game events without running the game itself down the road, making validation even easier.
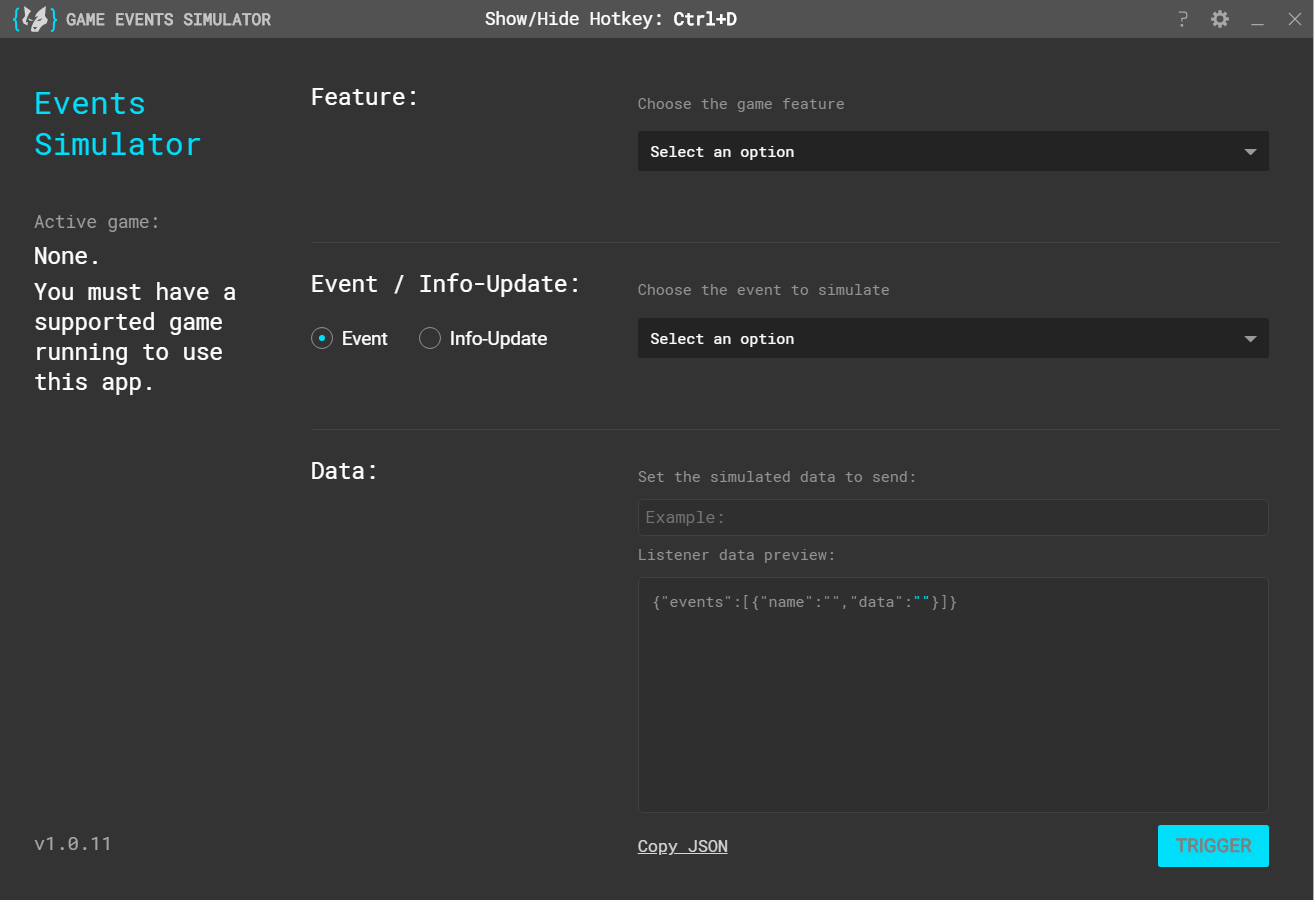
"no active game" mode
When you start the app with no active game running, you will see the following screen. No active game is detected, and you can't really do anything till you run one of the supported games.
1. Choose game feature
The app automatically pulls the list of available features for the active game.
Please review our API documentation to get a list of supported features, events and info updates each game can get.

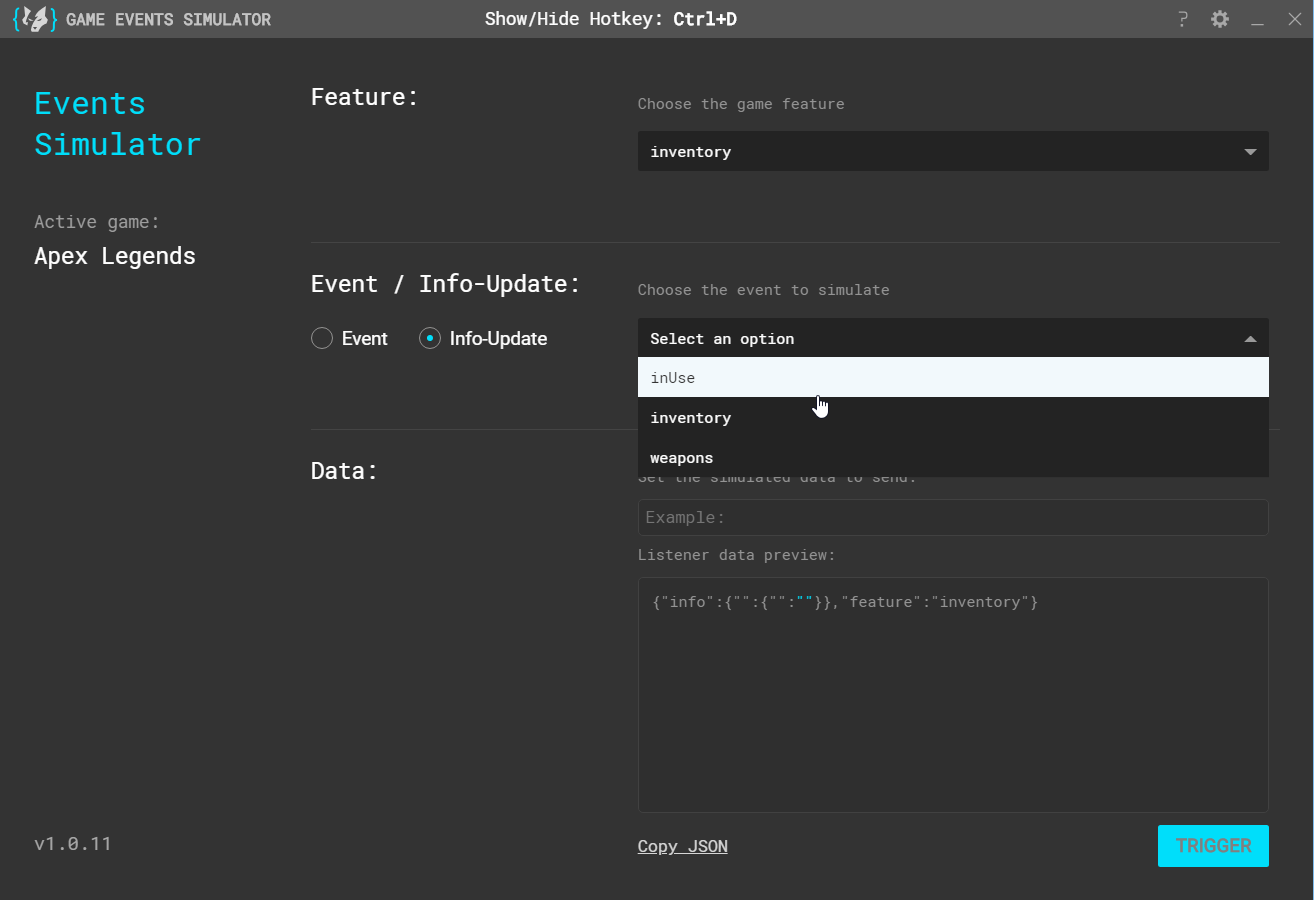
2. Choose an event to trigger
Once you choose a feature, the list of events and info updates for this feature is pulled from the server. Note that some features contain only events or only info type updates.
3. Send the event to your app
After a feature was selected, the sample data will be automatically fetched from the server.
You can than customize and set an exact value to send to the app as event data. Once the data is ready, just hit the "Trigger" button.
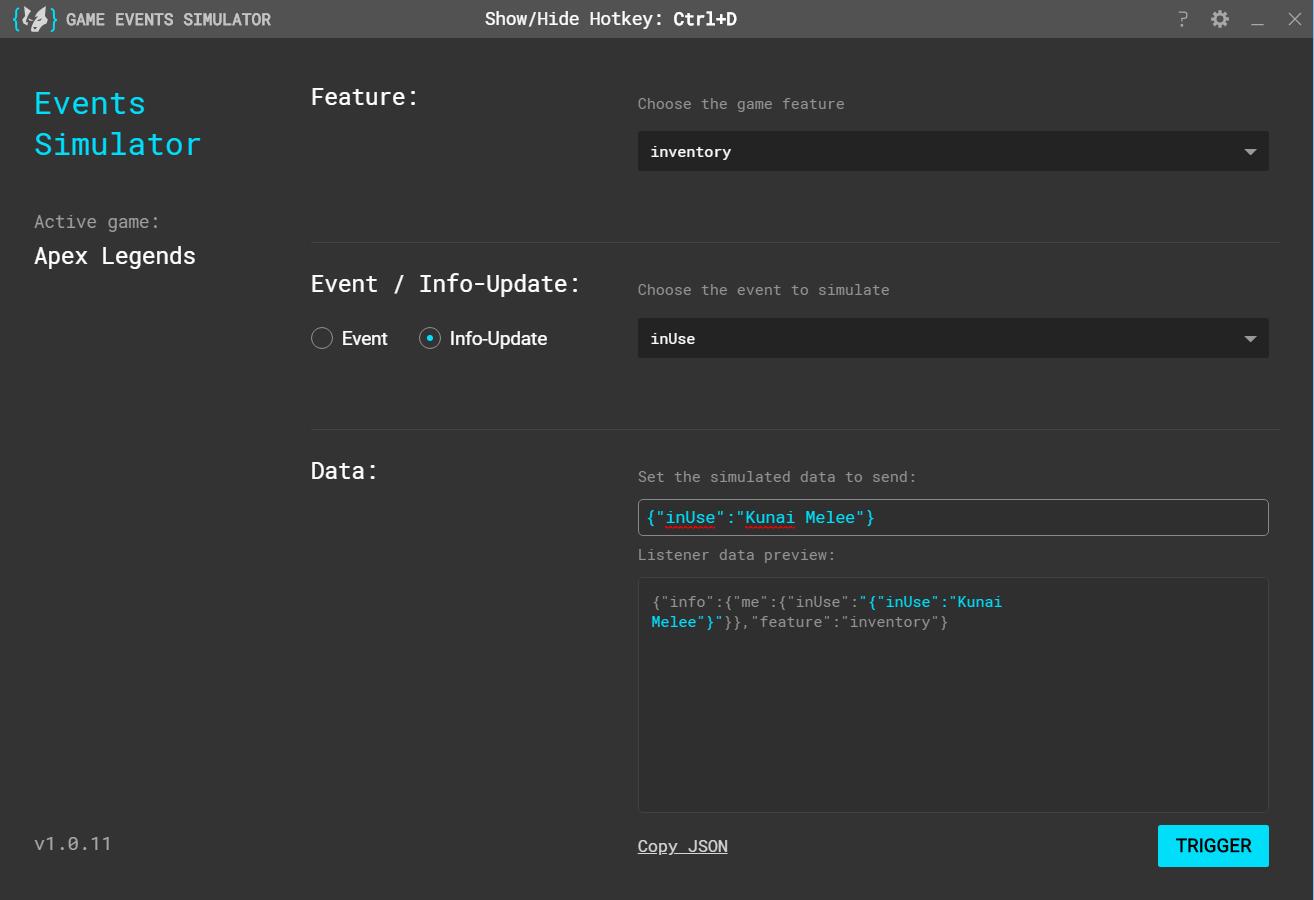
On the "Listener data preview" window, you will get a preview of the data that your app listener will receive from the simulator. In a real game you will receive the data in the same format.
4. Trigger the event
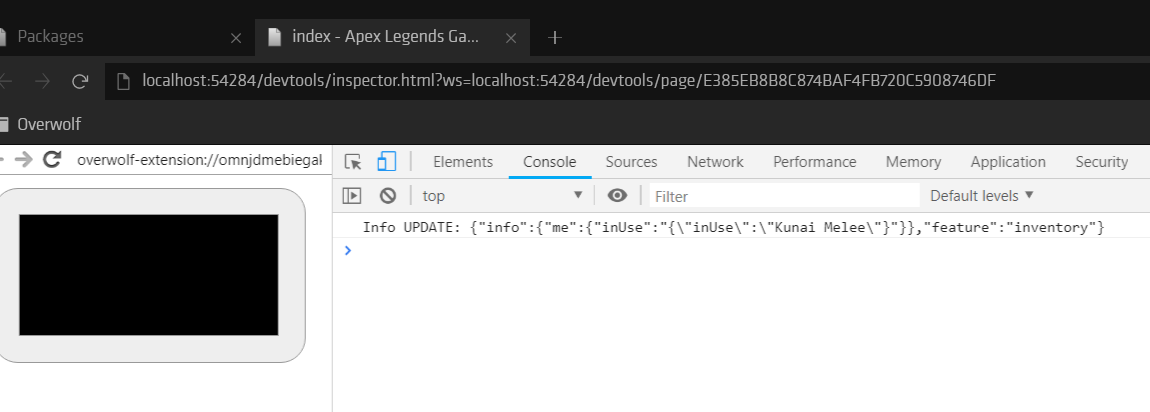
Once you hit the "Trigger" button, the event is triggered and you can see the event was sent in the dev console.

5. Listen to the simulated event
In this stage, if your app is properly listening to the triggered event, it should respond to it. In addition, you can test it using our library of sample apps - these apps listen to all events, so if you are running Apex for example, install the Apex events sample app, open the debug console, and you should see all triggered events coming in from the simulator as well as from the game itself.