Submit Your App
So, you’re done developing your app and it's time to submit it for review to go live on the in-game Appstore. First thing's first - Congratulations!
In this page we'll detail how you can submit your app and set yourself up for approval.
The app submission checklist
In order to submit an app, you must first have a basic working version of the app. Once you do, make sure you go over the following steps:
- Run some final tests - Make sure the app works exactly as you want it to. It doesn't have to be perfect, but it should at least achieve its core aim consistently.
- Validate your manifest - An invalid manifest file will create an invalid app, causing unnecessary delays in the process. Make sure that you validate the manifest file of the actual version before submission!
- Create an OPK file - This is your app's actual package.
Once you have a release candidate ready, you can submit your OPK through here. We should share results within 1-2 weeks, depending on the queue.
If you have any questions, or wish to create and distribute test versions of your app before launching properly, feel free to reach out!
HOWEVER! Things don't end here. There are still many things you can and should do before launching:
- App store assets - Your app's store assets are what potential users see before downloading. It's important to make sure those are just right.
When possible, we also recommend completing as many of the following steps as you can, to ensure a smoother app launch:
- Reduce your OPK size - Smaller file sizes are important.
- Create a customer support page - This will help your users deal with common issues more easily, giving you more time to focus on the things that matter.
OPK package overview
OPK files are Overwolf's app installation package, which includes your app's files:
- The manifest.json file
- Required app assets (detailed here)
- Source files
- App-specific assets
All files are packed in a package that has the .opk file extension.
Double-clicking a valid OPK will install the package.
How to create an OPK package
To create an OPK, ZIP all your files together (make sure to use normal compression rate and not the highest rate), and then manually change the file extension from .zip to .opk.
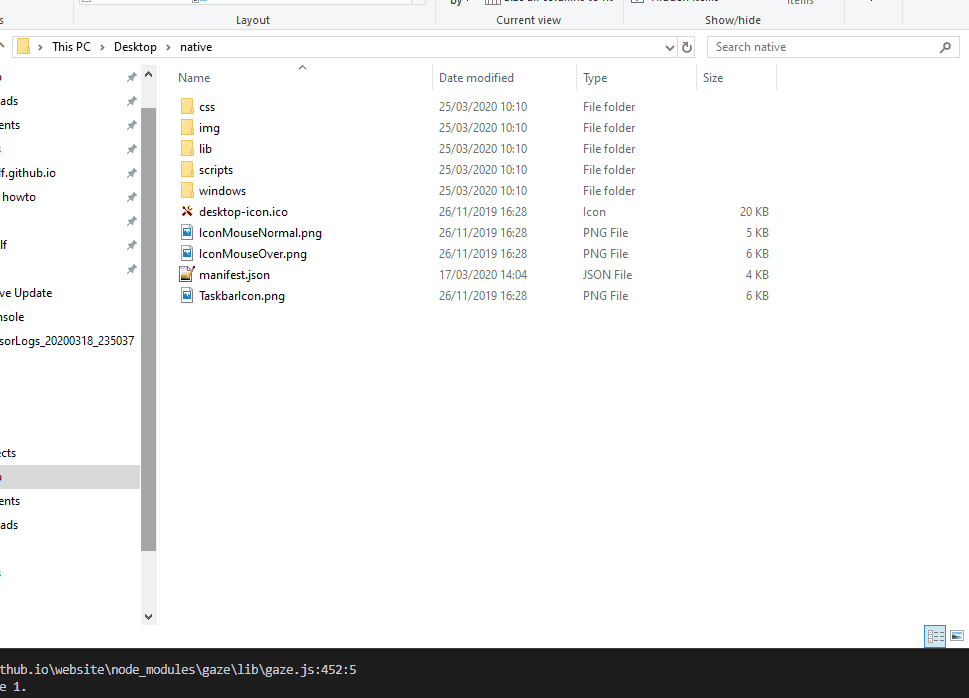
Make sure to pack the manifest and all the files and folders in the root of the package, like this:
Note: Make sure to use "Normal" compression rate and not the highest rate.
OPK structure
As mentioned above, the OPK package should contain all of the app's files and assets:
Other than the manifest.json file being at the root of your app, the rest of the file hierarchy is left up to you.
Just make sure it makes sense to you, and that the paths in your manifest.json file point to the right files.
manifest.json file
- Your app's manifest.json file.
App Icons
IconMouseNormal.png
- A gray-scale icon for the default state of your app button when it is unselected. The file should be smaller than 30KB, and sized at 256X256 pixels with at least 72 PPI.

- A gray-scale icon for the default state of your app button when it is unselected. The file should be smaller than 30KB, and sized at 256X256 pixels with at least 72 PPI.
IconMouseOver.png
- A colored version of IconMouseNormal.png, for when the app button is selected or mouse-overed. Similarly, file should be smaller than 30KB and sized at 256X256 pixels with at least 72 PPI.

- A colored version of IconMouseNormal.png, for when the app button is selected or mouse-overed. Similarly, file should be smaller than 30KB and sized at 256X256 pixels with at least 72 PPI.
launcher_icon.ico (Required for store release*)
- * While not strictly required for the app to load, an app MUST have an icon to be published to the store!
- A custom icon for your app's desktop shortcut.
- Requires the
launcher_iconproperty in your app's manifest.json file. - Requires an app icon asset in your app’s folder.
- The launcher icon should look like the app's dock icon to prevent confusion.
- The launcher icon is a 256×256 transparent .png converted into an .ico file in the following resolutions: 16×16, 32×32, 48×48, 256×256.
- In order to create a multi-layer .ico file, you can use a third-party service. We recommend convertico.
- Please make sure that your icon's layer sizes include all of (and only) the above sizes (16×16, 32×32, 48×48, 256×256).
- The launcher icon should weigh less than 150Kb.
- Contact us if you want to update your installer icon with the ICO file (the installer is the .EXE bundle icon that the users downloads from the OW app store).
WindowIcon.png (OPTIONAL)
- A colored icon for the window task bar icon \ window header. If not defined, IconMouseOver.png will be taken.
- Requires the
window_iconproperty in your app's manifest.json file.- The difference between the two icons, is that this taskbar icon should be squared, while the other icons are rounded, to fit the OW deck.
- Similarly, file should be smaller than 30KB and sized 256X256 pixels with at least 72 PPI.
tray_icon.ico (OPTIONAL)
- A dedicated tray icon for your app.
- Requires the
tray_iconproperty in your app's manifest.json file. - The tray icon should look similar to the app's dock icon, to prevent confusion.
- The tray icon is a 32x32 transparent .png converted into an .ico file in the following resolutions: 16x16, 32x32.
- If not defined, this icon will default to the
launcher_icon.icoimage.
All of your code and asset files
- A hierarchy containing your code and assets.
- Make sure the paths in your manifest linking to these are correct.
- A hierarchy containing your code and assets.
Prepare your store assets
After submitting your OPK to the store for the first time, you should get access to the Overwolf Developer's Console.
Through the console, you will be able to upload new app versions and update your store listing page, with all of your app's information, including screenshots, description, etc.
The following is a list of the store assets required before an app can be launched:
Tile.jpg - The Appstore tile asset for your app.
- It should be a JPG format image sized 258X198 at 72PPI.

- It should be a JPG format image sized 258X198 at 72PPI.
Icon.png - The icon used to represent your app in the Overwolf appstore.
- It must be in PNG format and sized 55X55 pixels.
- Please make sure your chosen icon looks great on both dark and bright backgrounds.
ScreenshotX.jpg - Screenshots of your app
- Providing more than one attractive screenshots increases your app’s chances of getting noticed and winning hearts.
- Include at least one screenshot of your app (up to 5).
- Screenshots must be in JPG format, sized 1200x750 pixels, and a max of 100Kb for each.
- Please choose screenshots that remain clear, and where features can be spotted in that resolution.
Store description - The full Appstore description of your app
- The full Appstore description of your app, which will appear when users click on your app's store tile.
- This description can be edited using the markdown format,
- The maximum length for an appstore description is 2000 characters including spaces.
 danger
This is different from the app's short description, which is included in the app's manifest.json
Amazon Web Services benefits
Once your app has been successfully published, you will become eligible for some epic AWS benefits:
$10,000 in AWS Promotional Credit, valid for 2 Years.
1 full year of AWS Business Support, worth up to $5,000.
Access to the AWS Technical and Business Essentials training, both web-based and instructor-led, worth about $600 per course.
80 credits for Self-Paced Labs, valued around $80.
To apply for these benefits, please send us an email (developers@overwolf.com) and we will send you all of the details!